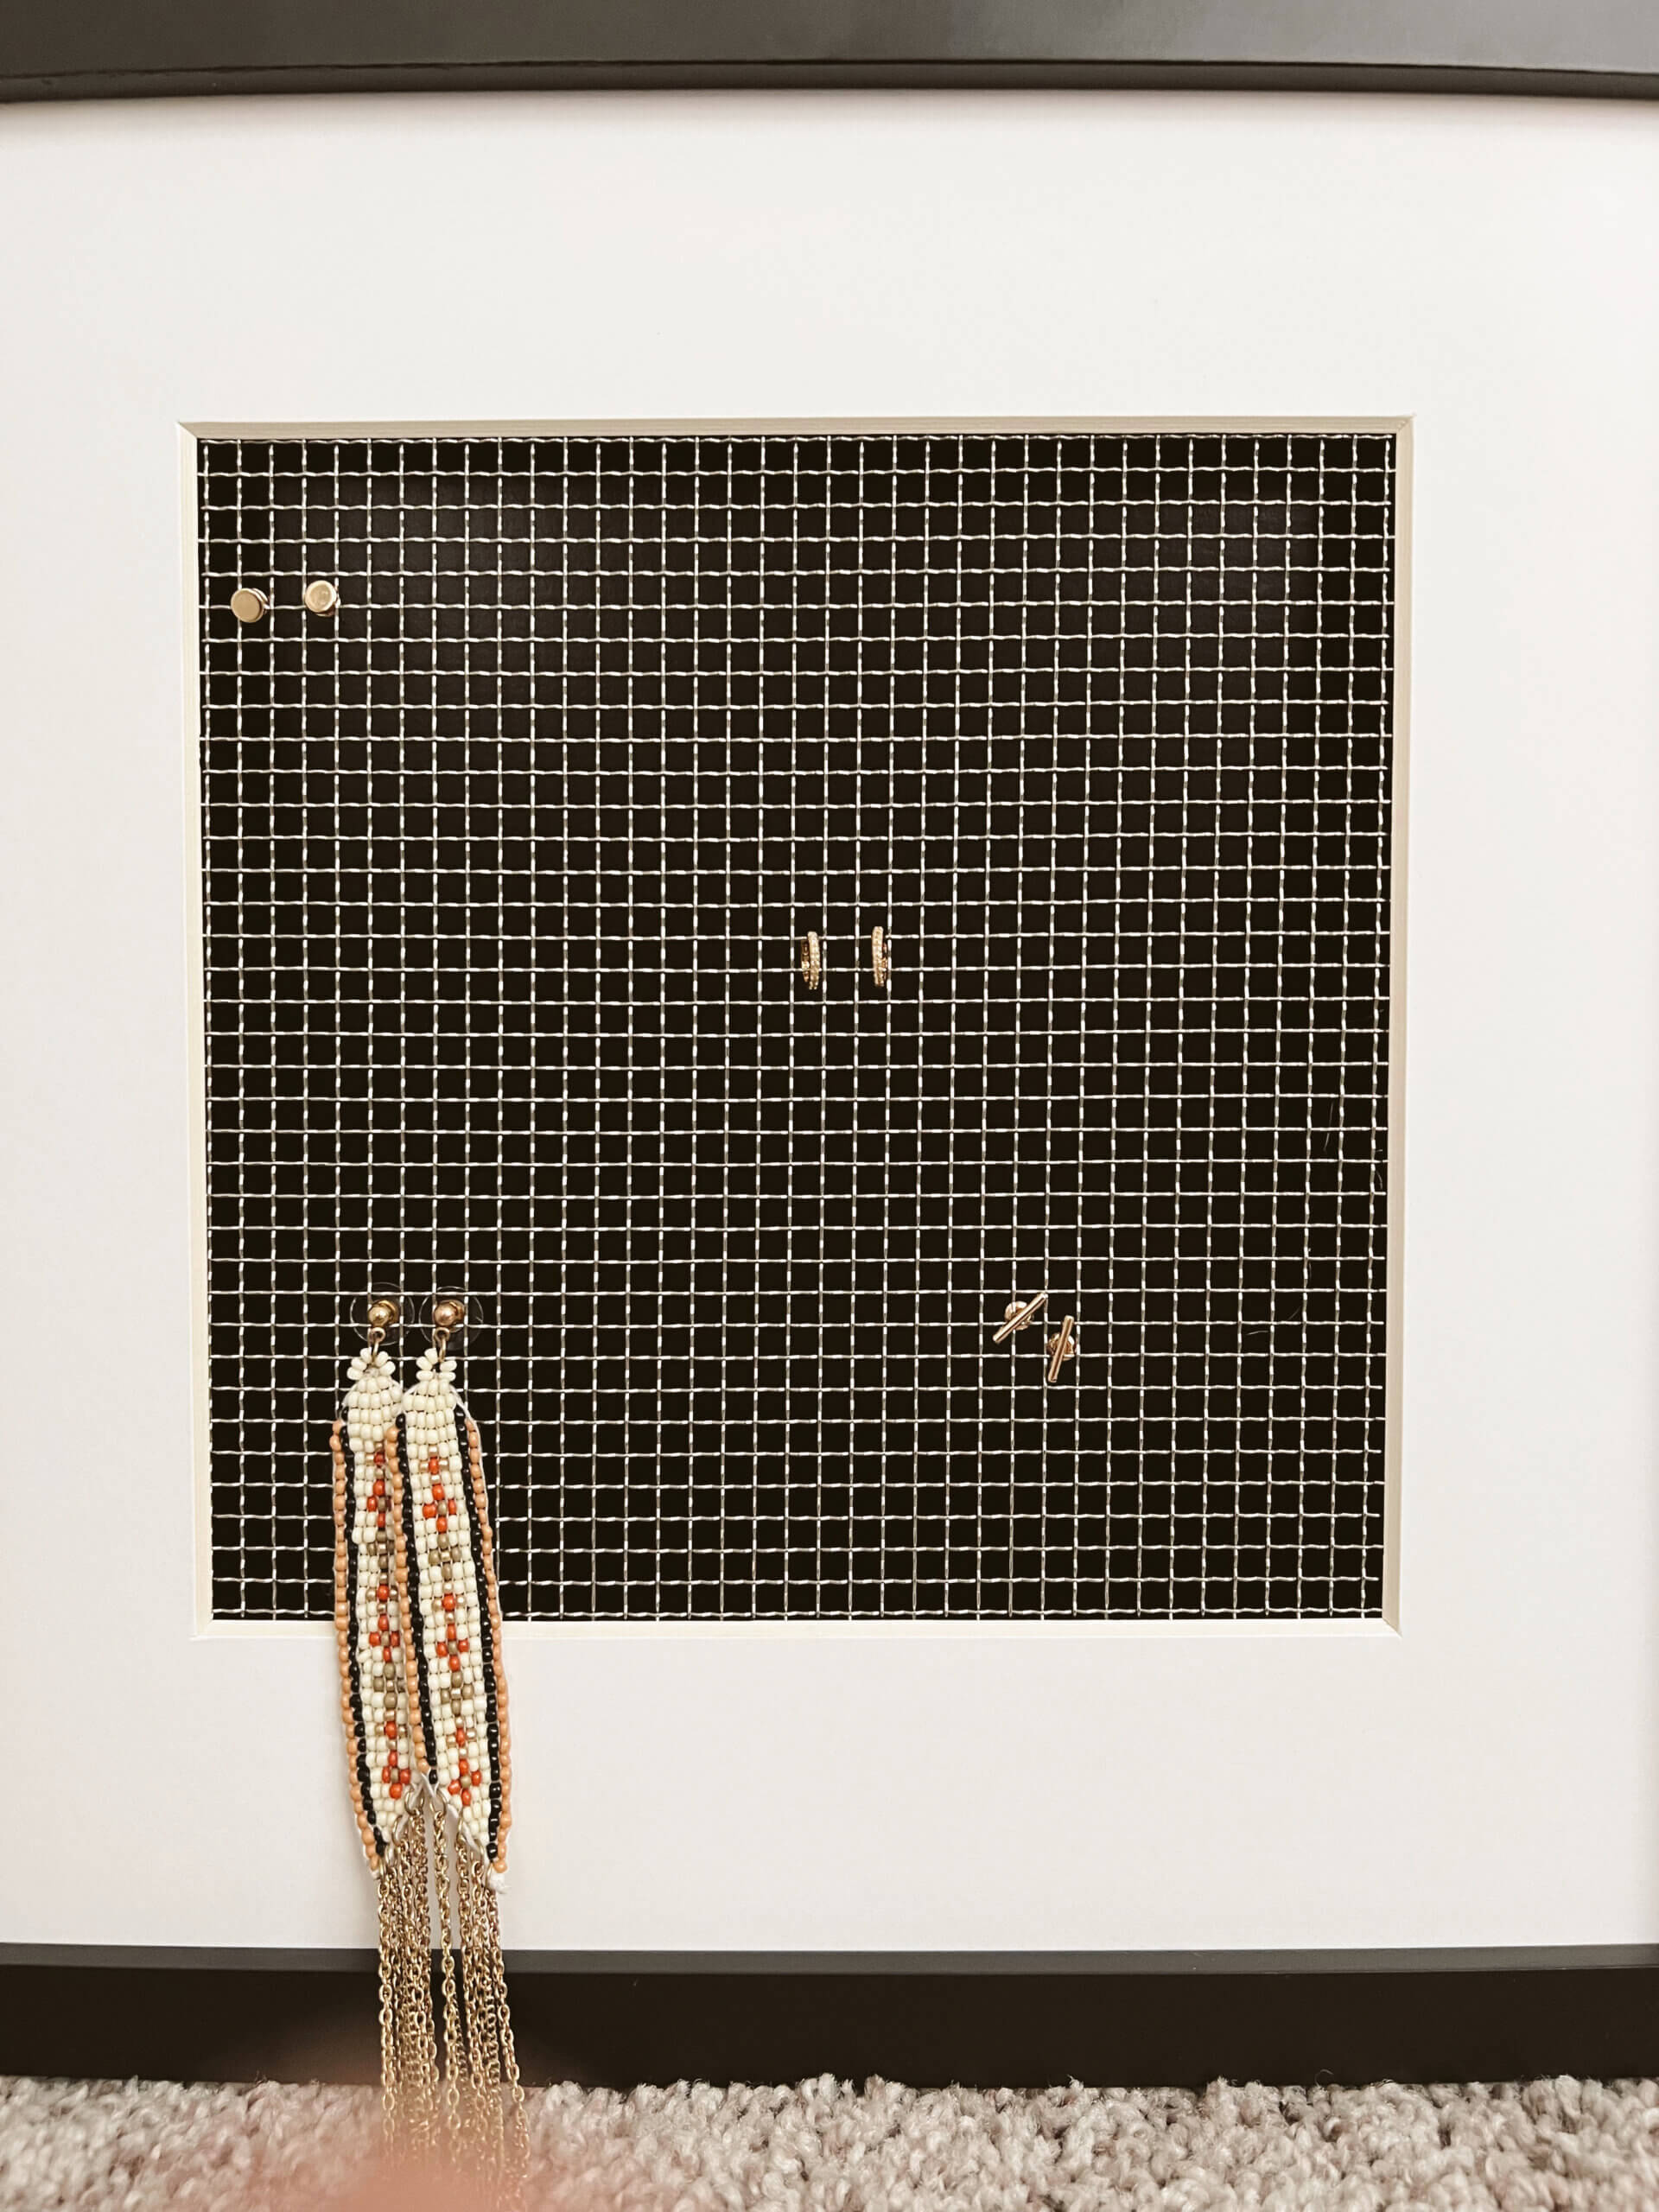
For awhile now, jewelry storage has been a bit of a problem for me. There’s a drawer in my nightstand that has been taken over by jewelry. I have some darling earrings, but I never wear them because, well, it’s too much work to find them.
This project is pretty easy. I had a few mishaps along the way, but you can learn from my mistakes. Ready? Let’s get started!
Supplies Needed for DIY Earring Display
frame
screen
square dowels
b7000, or hot glue
wire cutters
saw to cut dowels
You can use any size of frame you want as long as you have screen big enough to fill it. I just used a frame I already had.
Let’s talk about the screen. I had the hardest time finding metal screen. I checked all the hardware stores near me and all I could find was vinyl screening. There was not metal screen to be found. I ended up going to Amazon and I was able to find this metal screen. I was worried because it’s hard to tell from a picture the size of the holes. It ended up working perfectly, so I’ve linked it for your convenience.

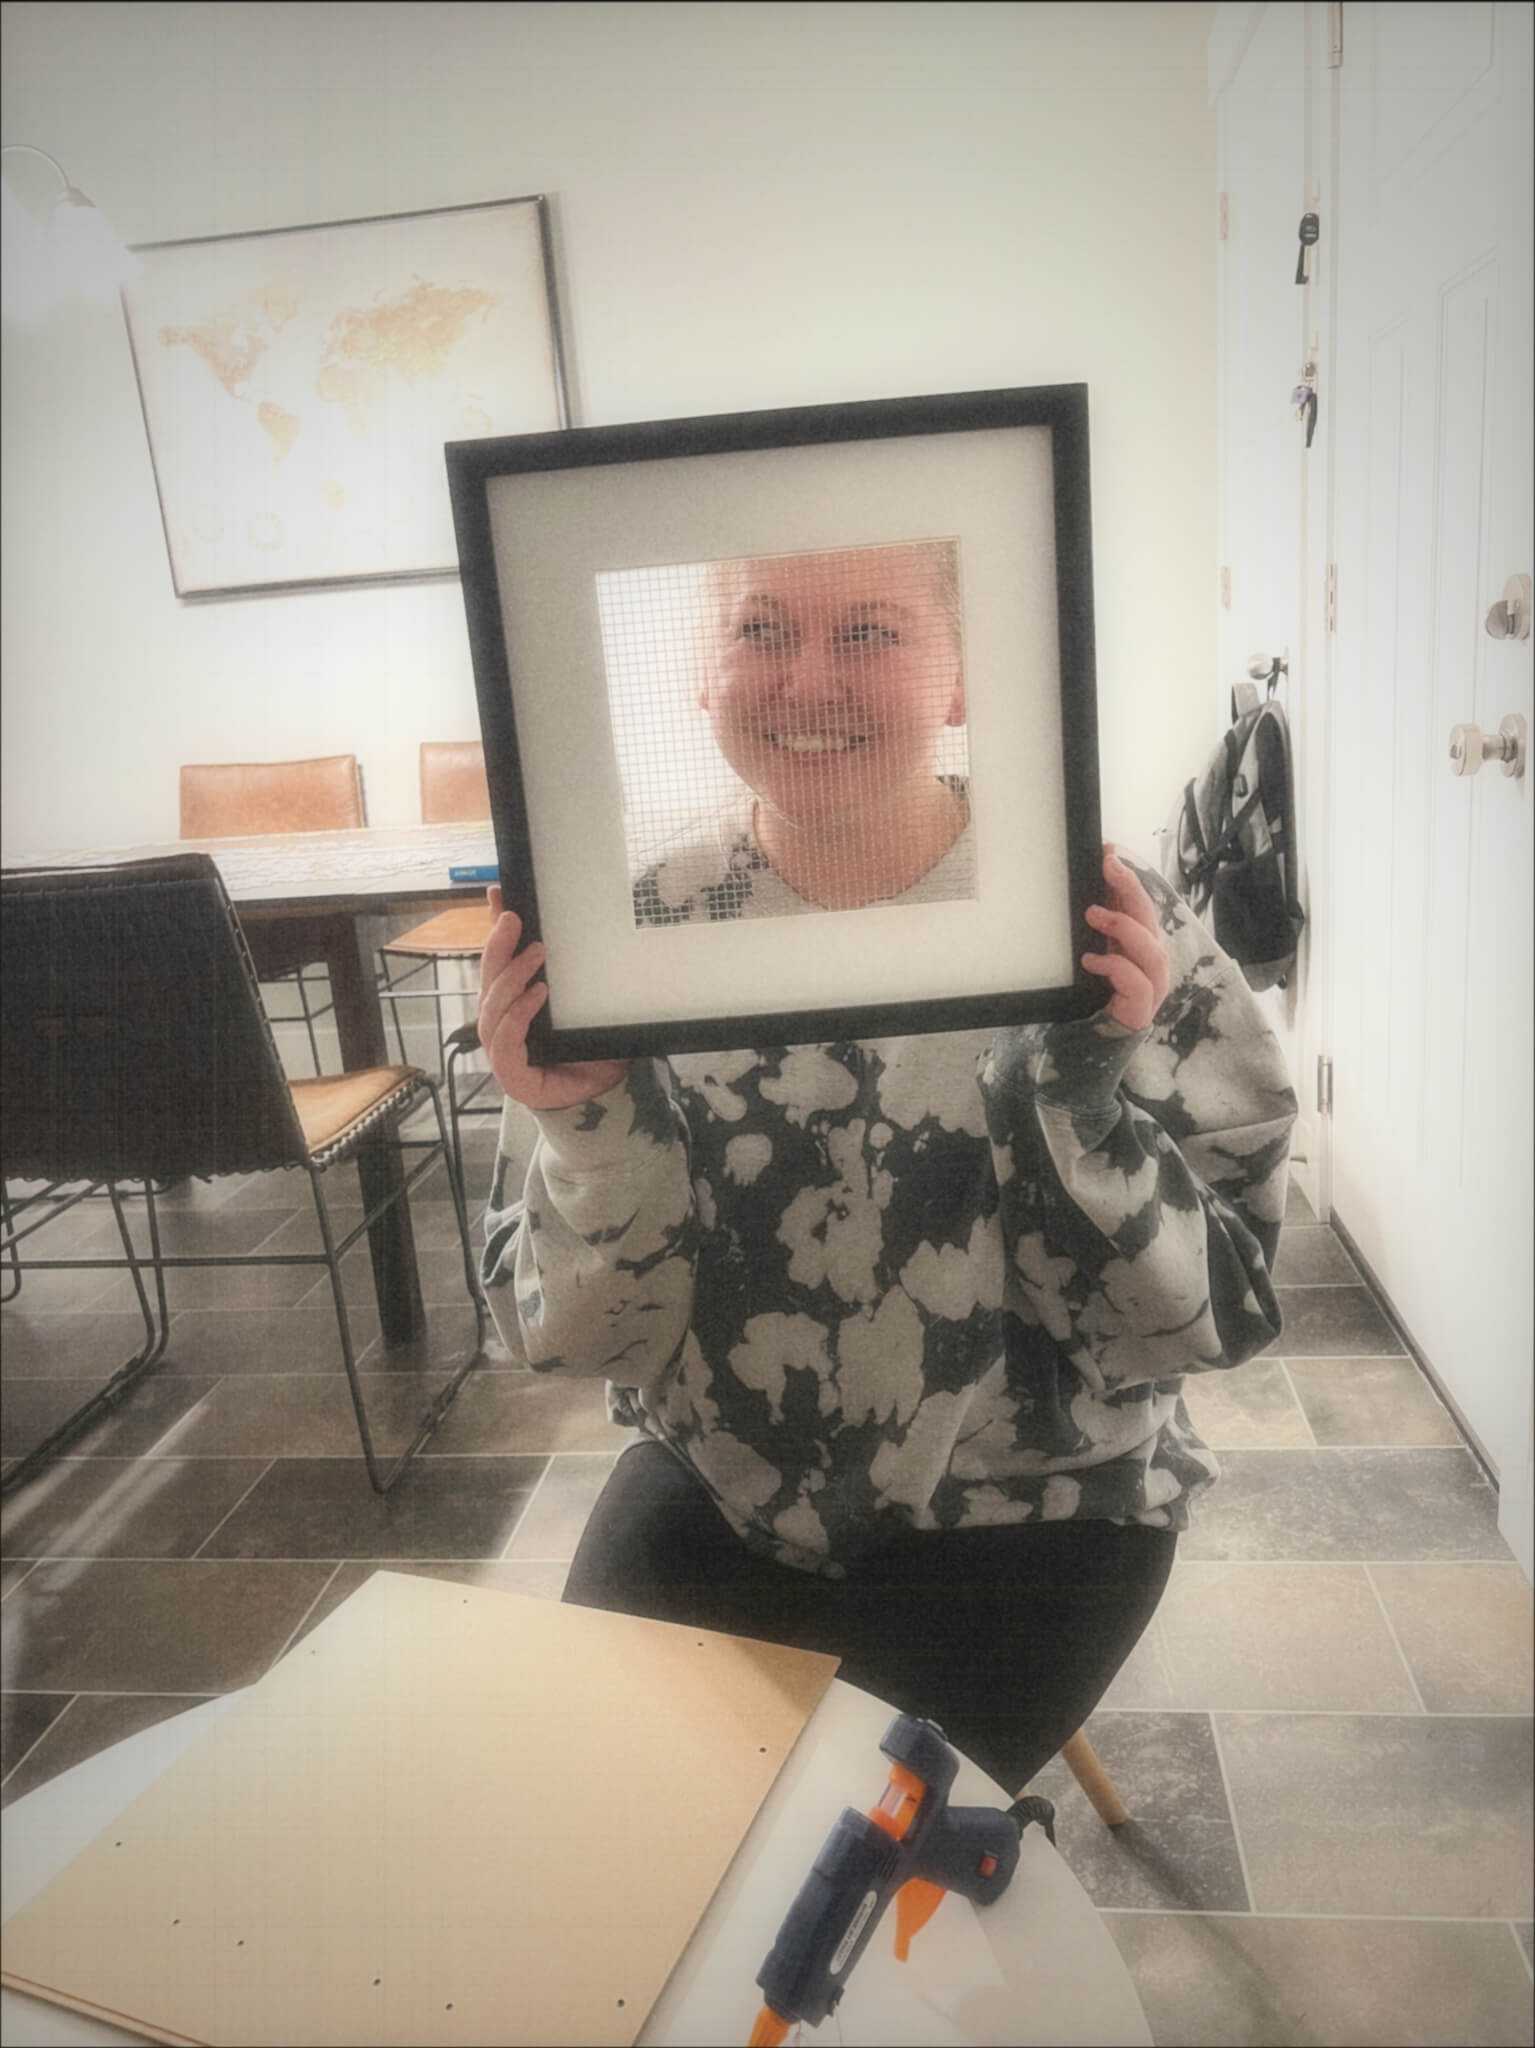
How to Make an Easy DIY Earring Display
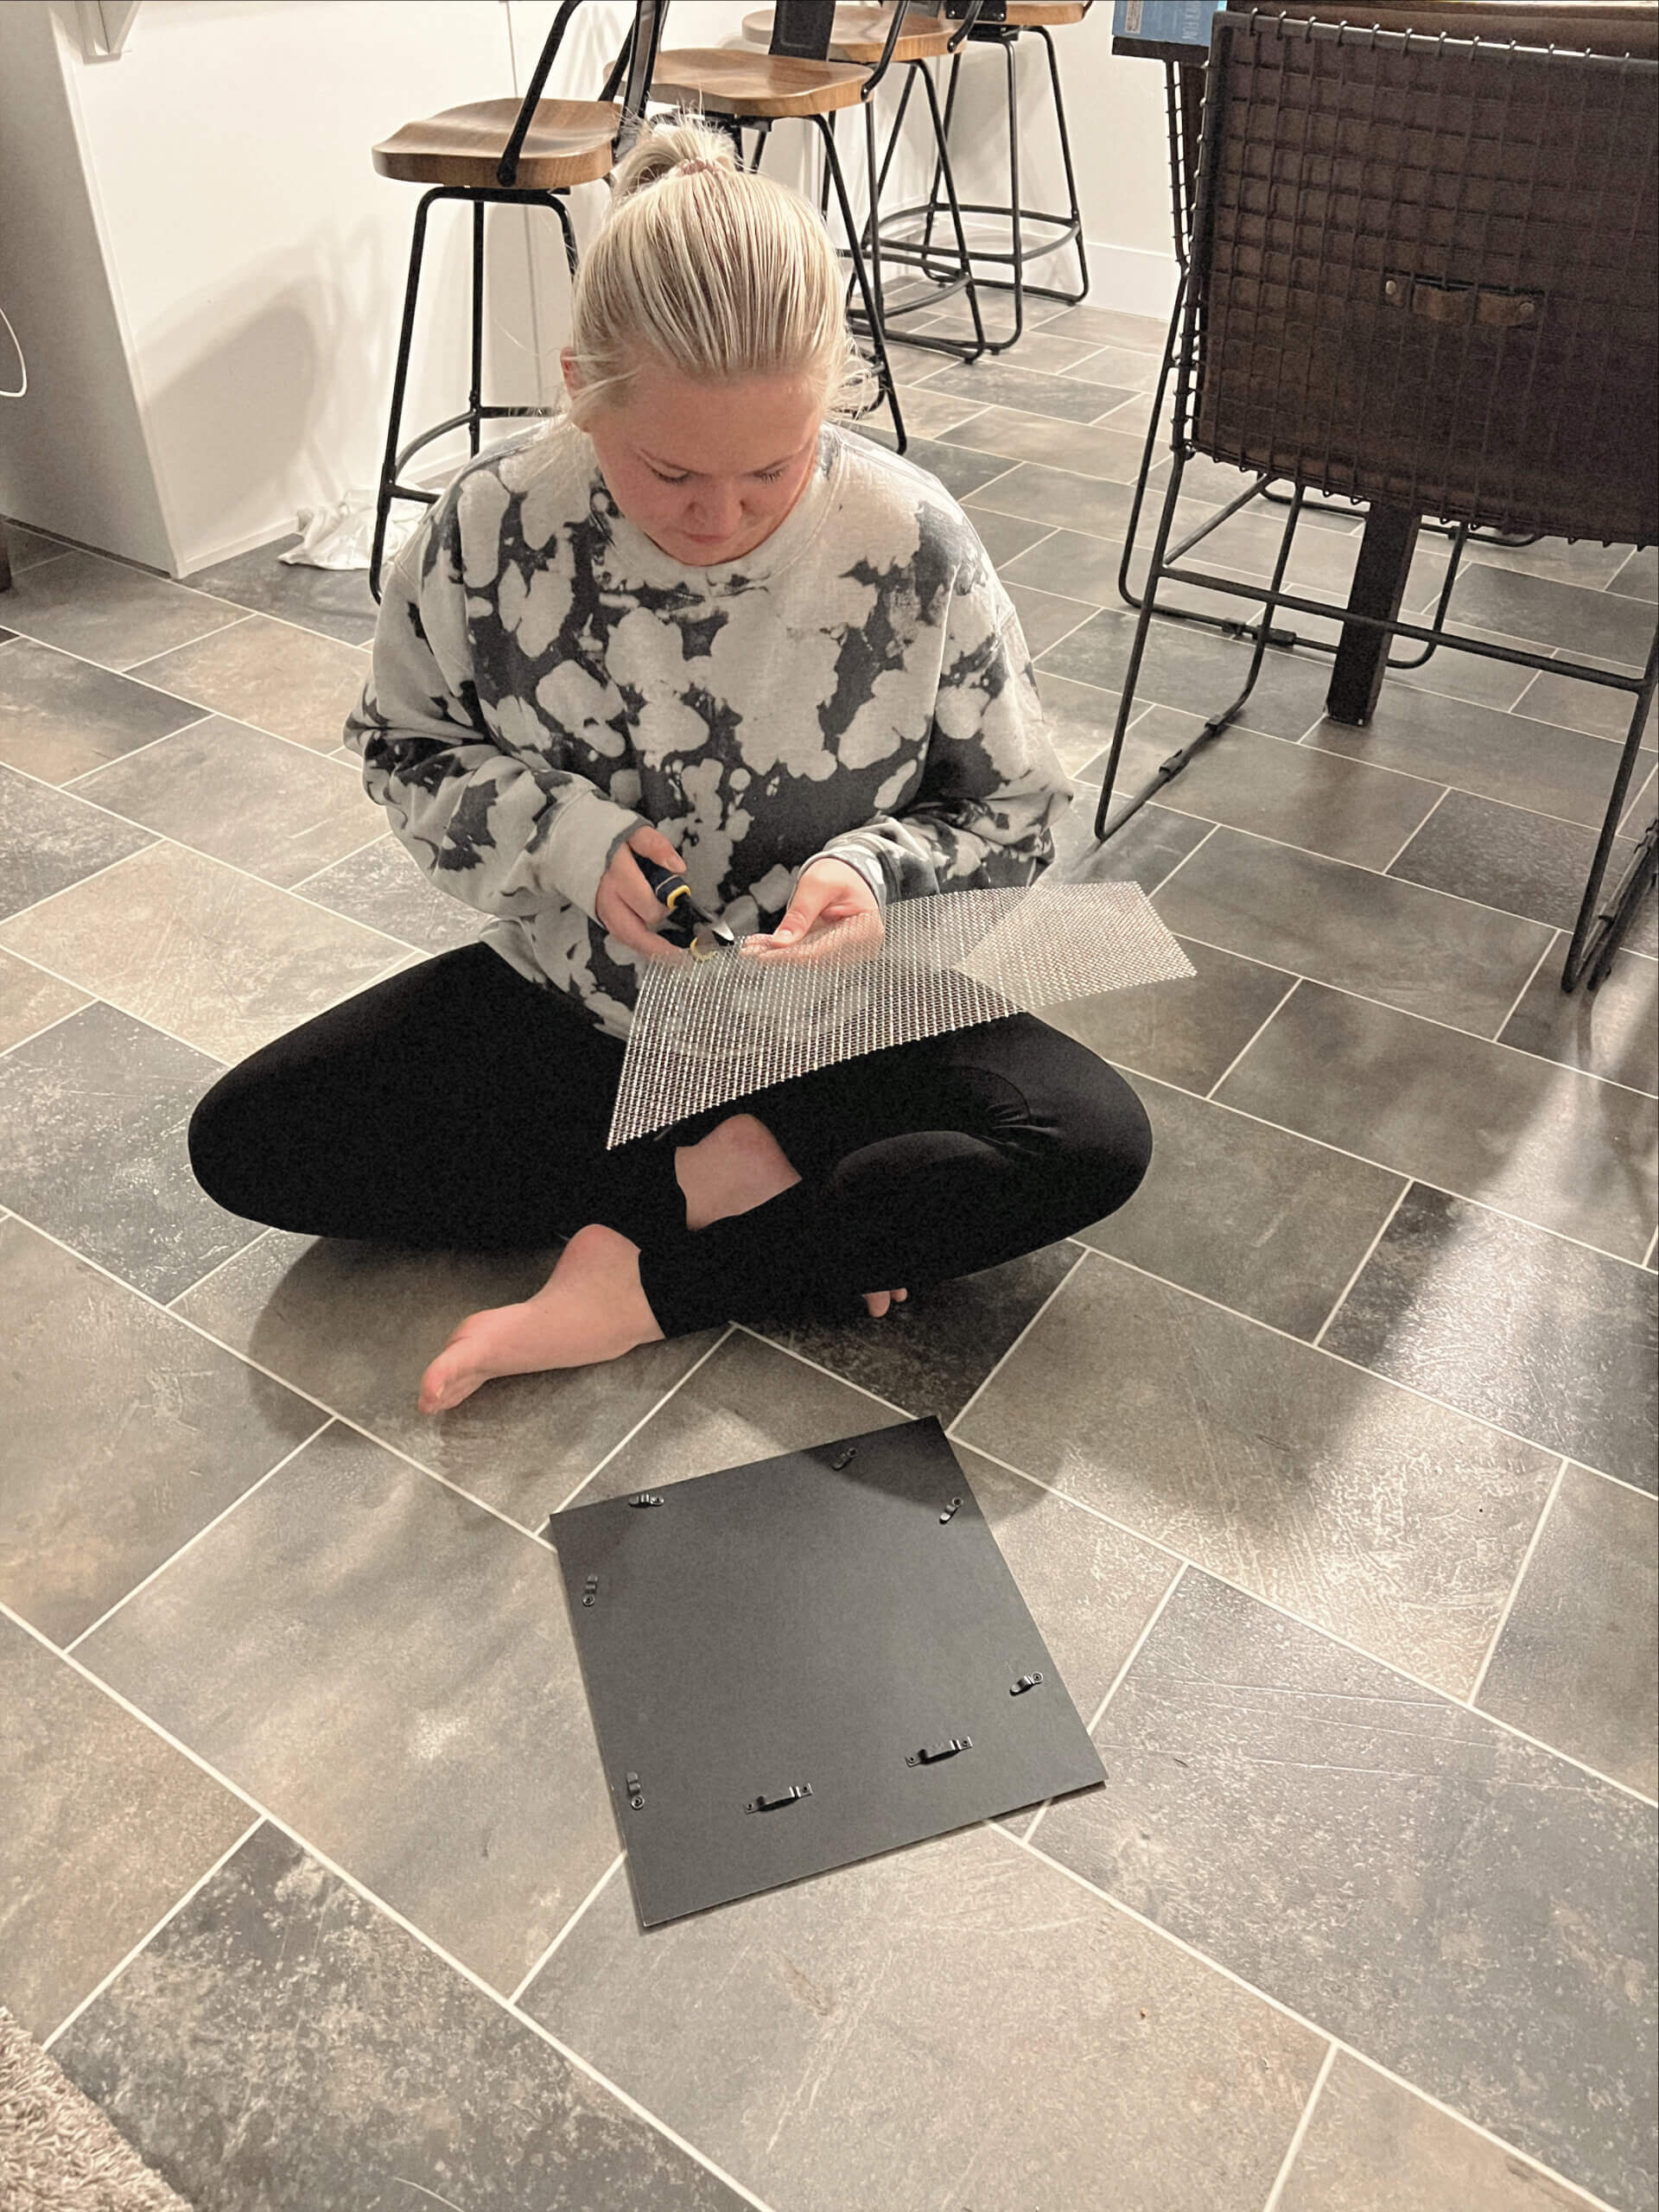
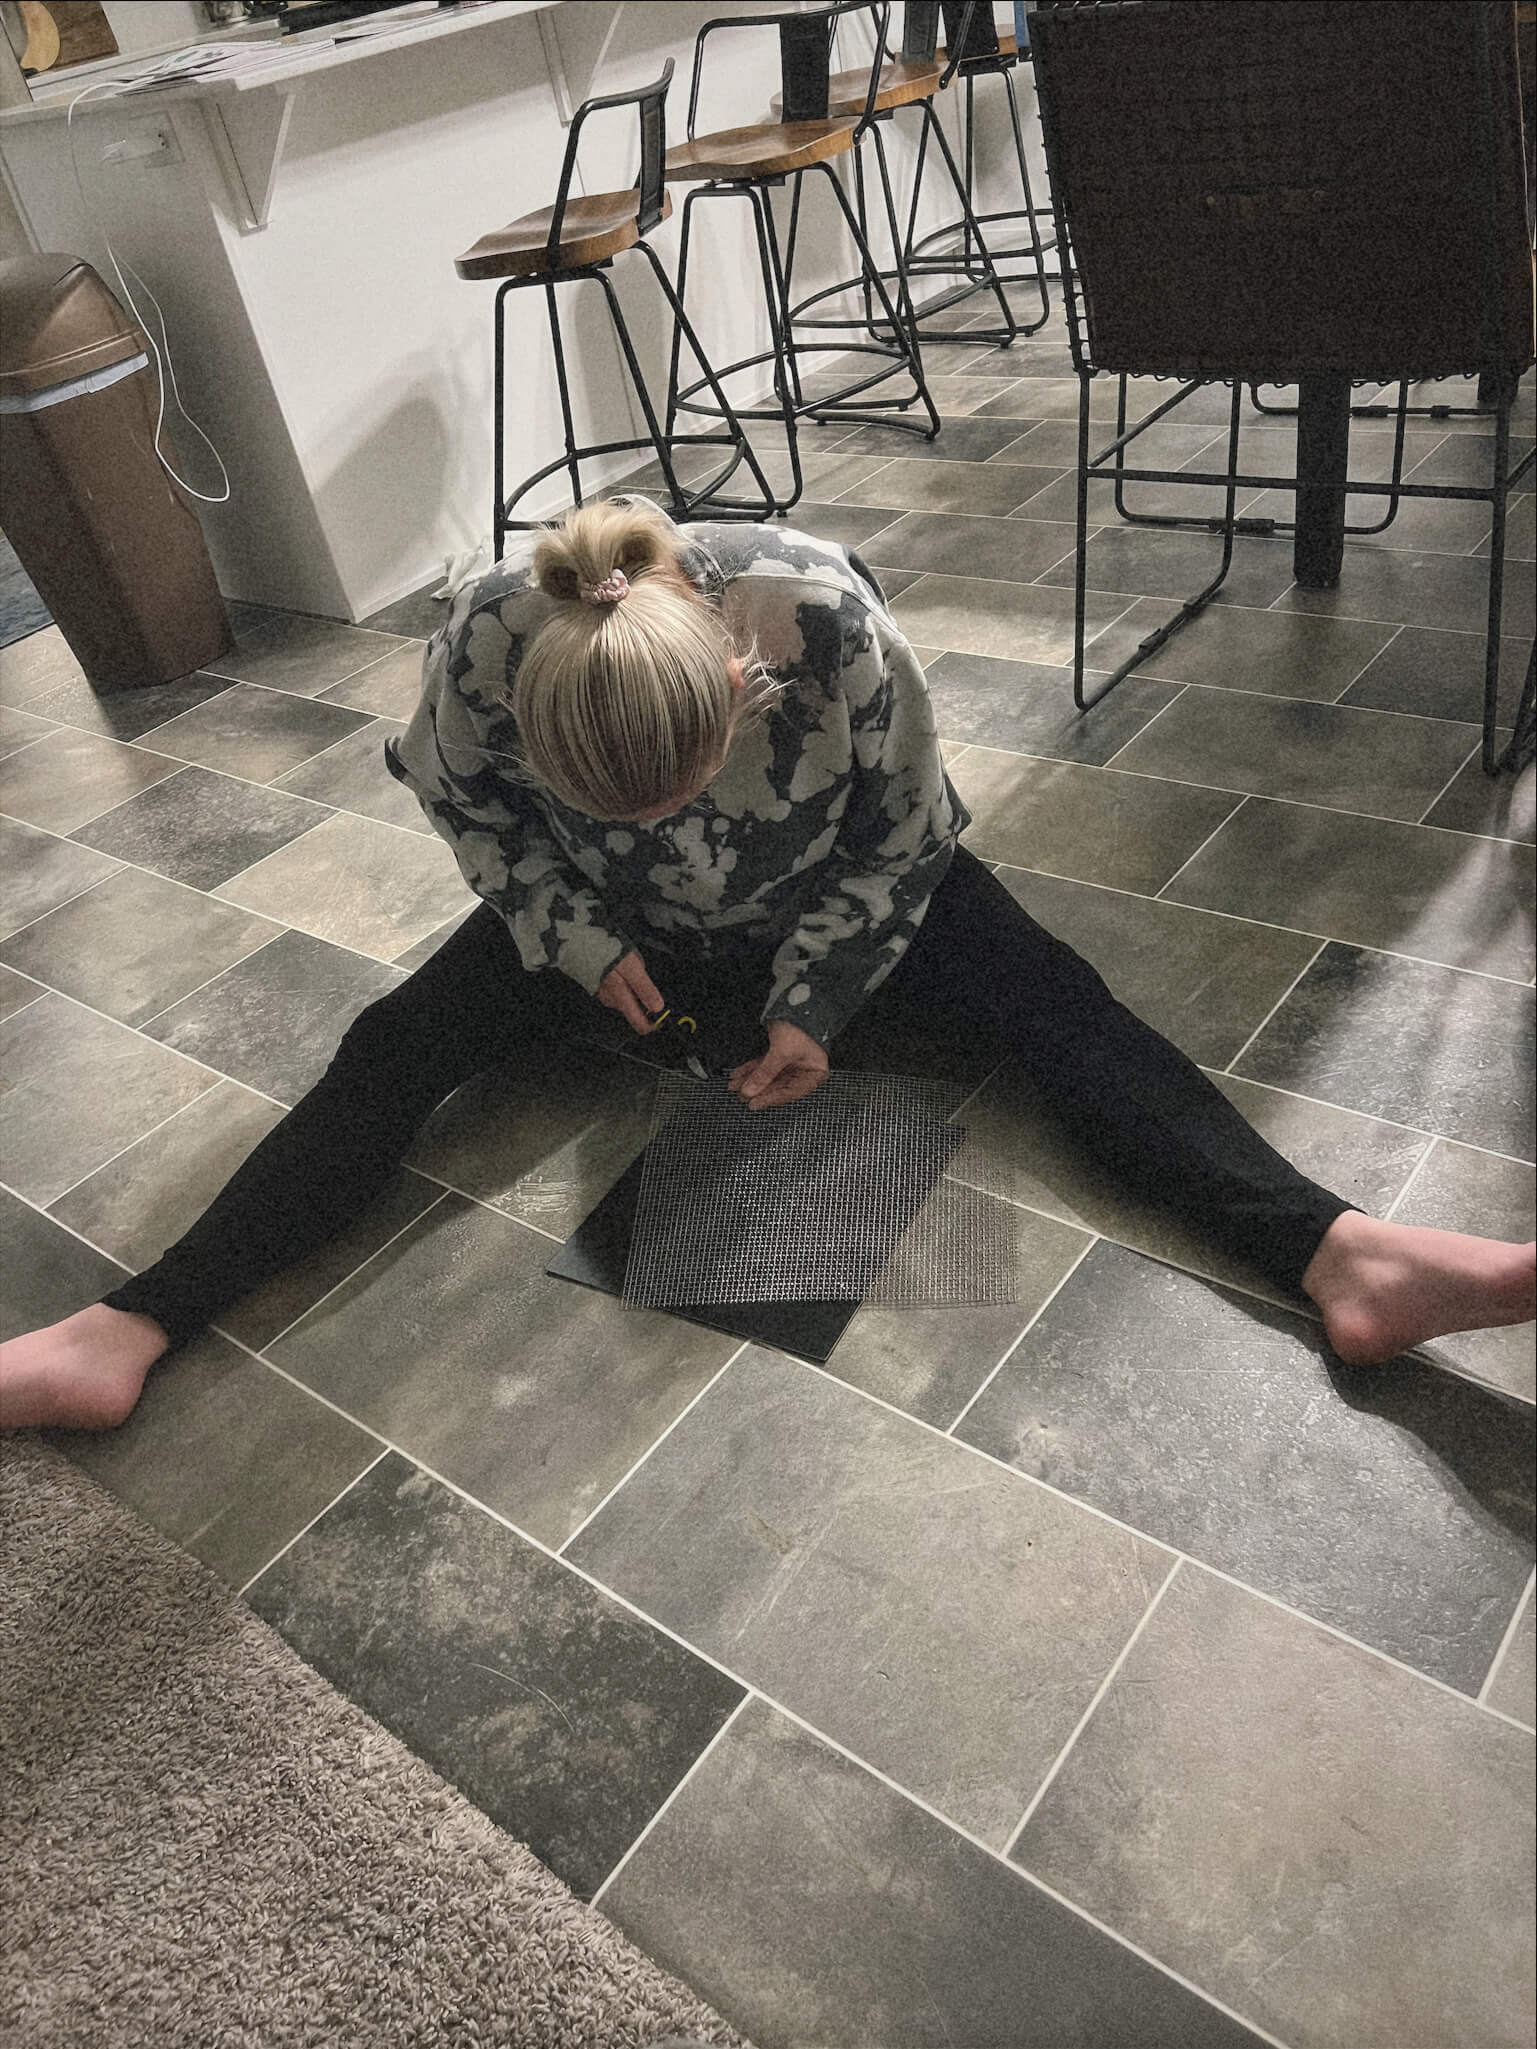
Begin by trimming the screen to fit the opening of the frame. You can use the insert from the frame as a guide. If you don’t have the insert, measure from the back side.
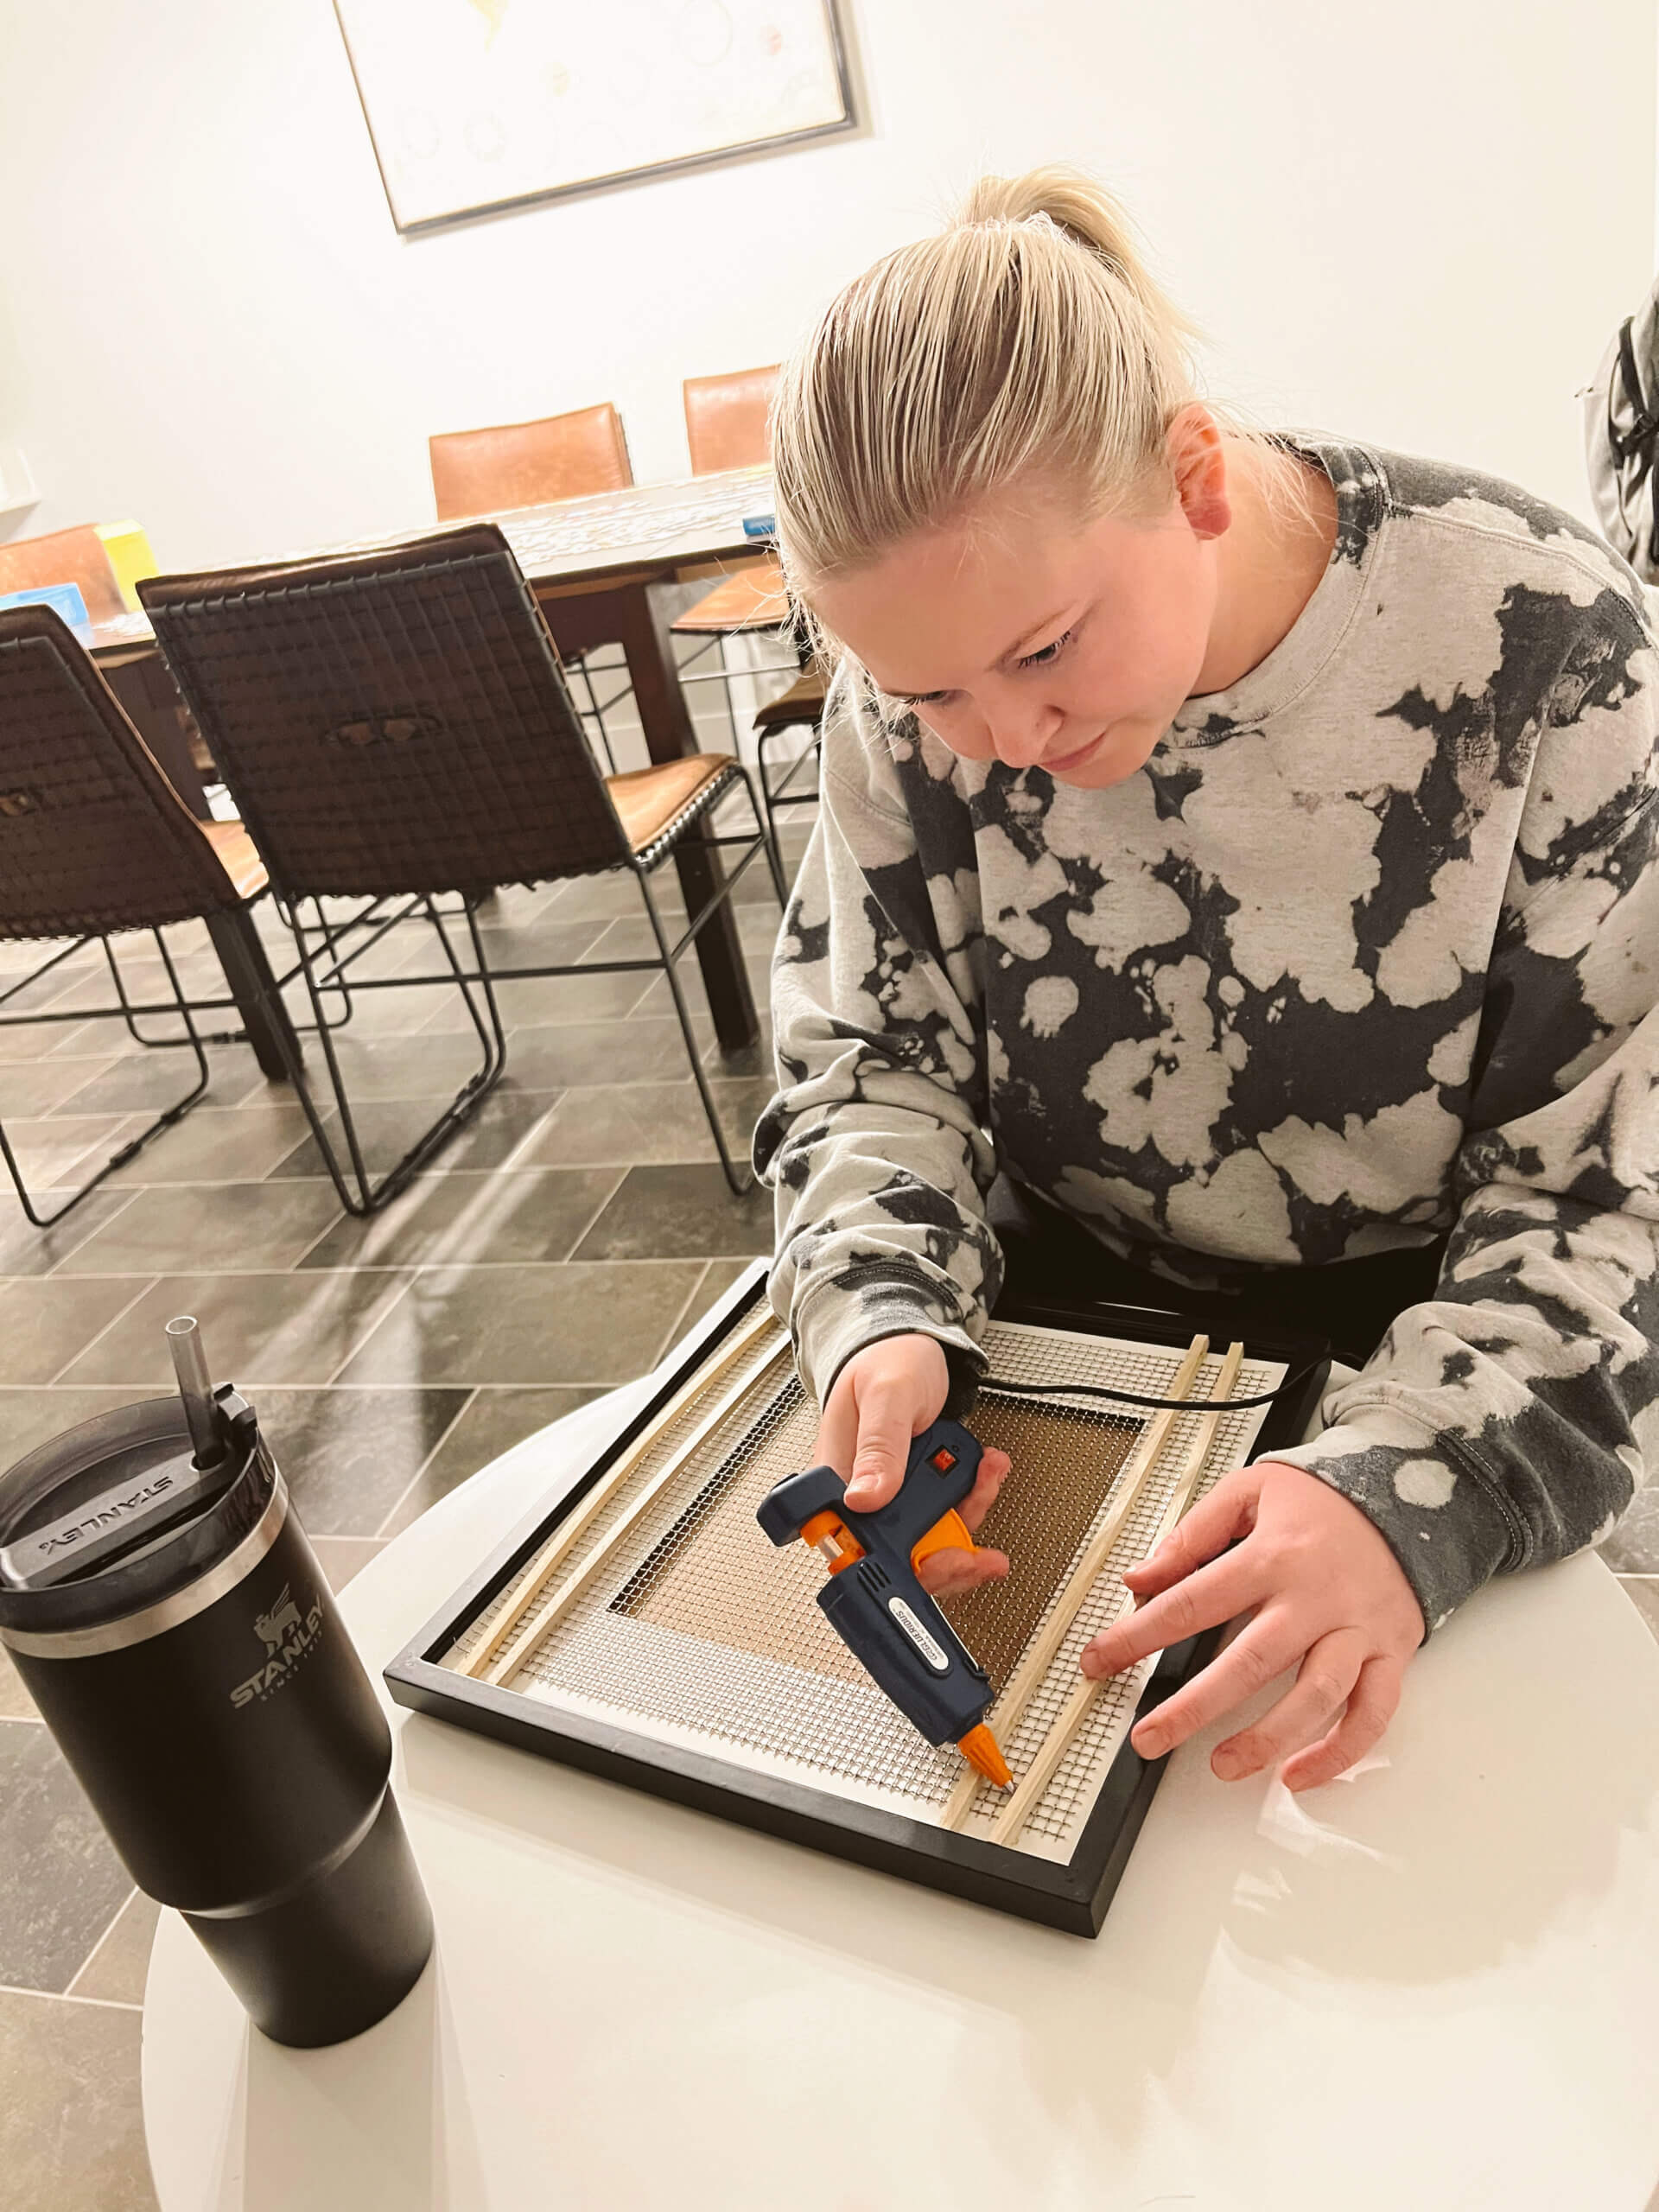
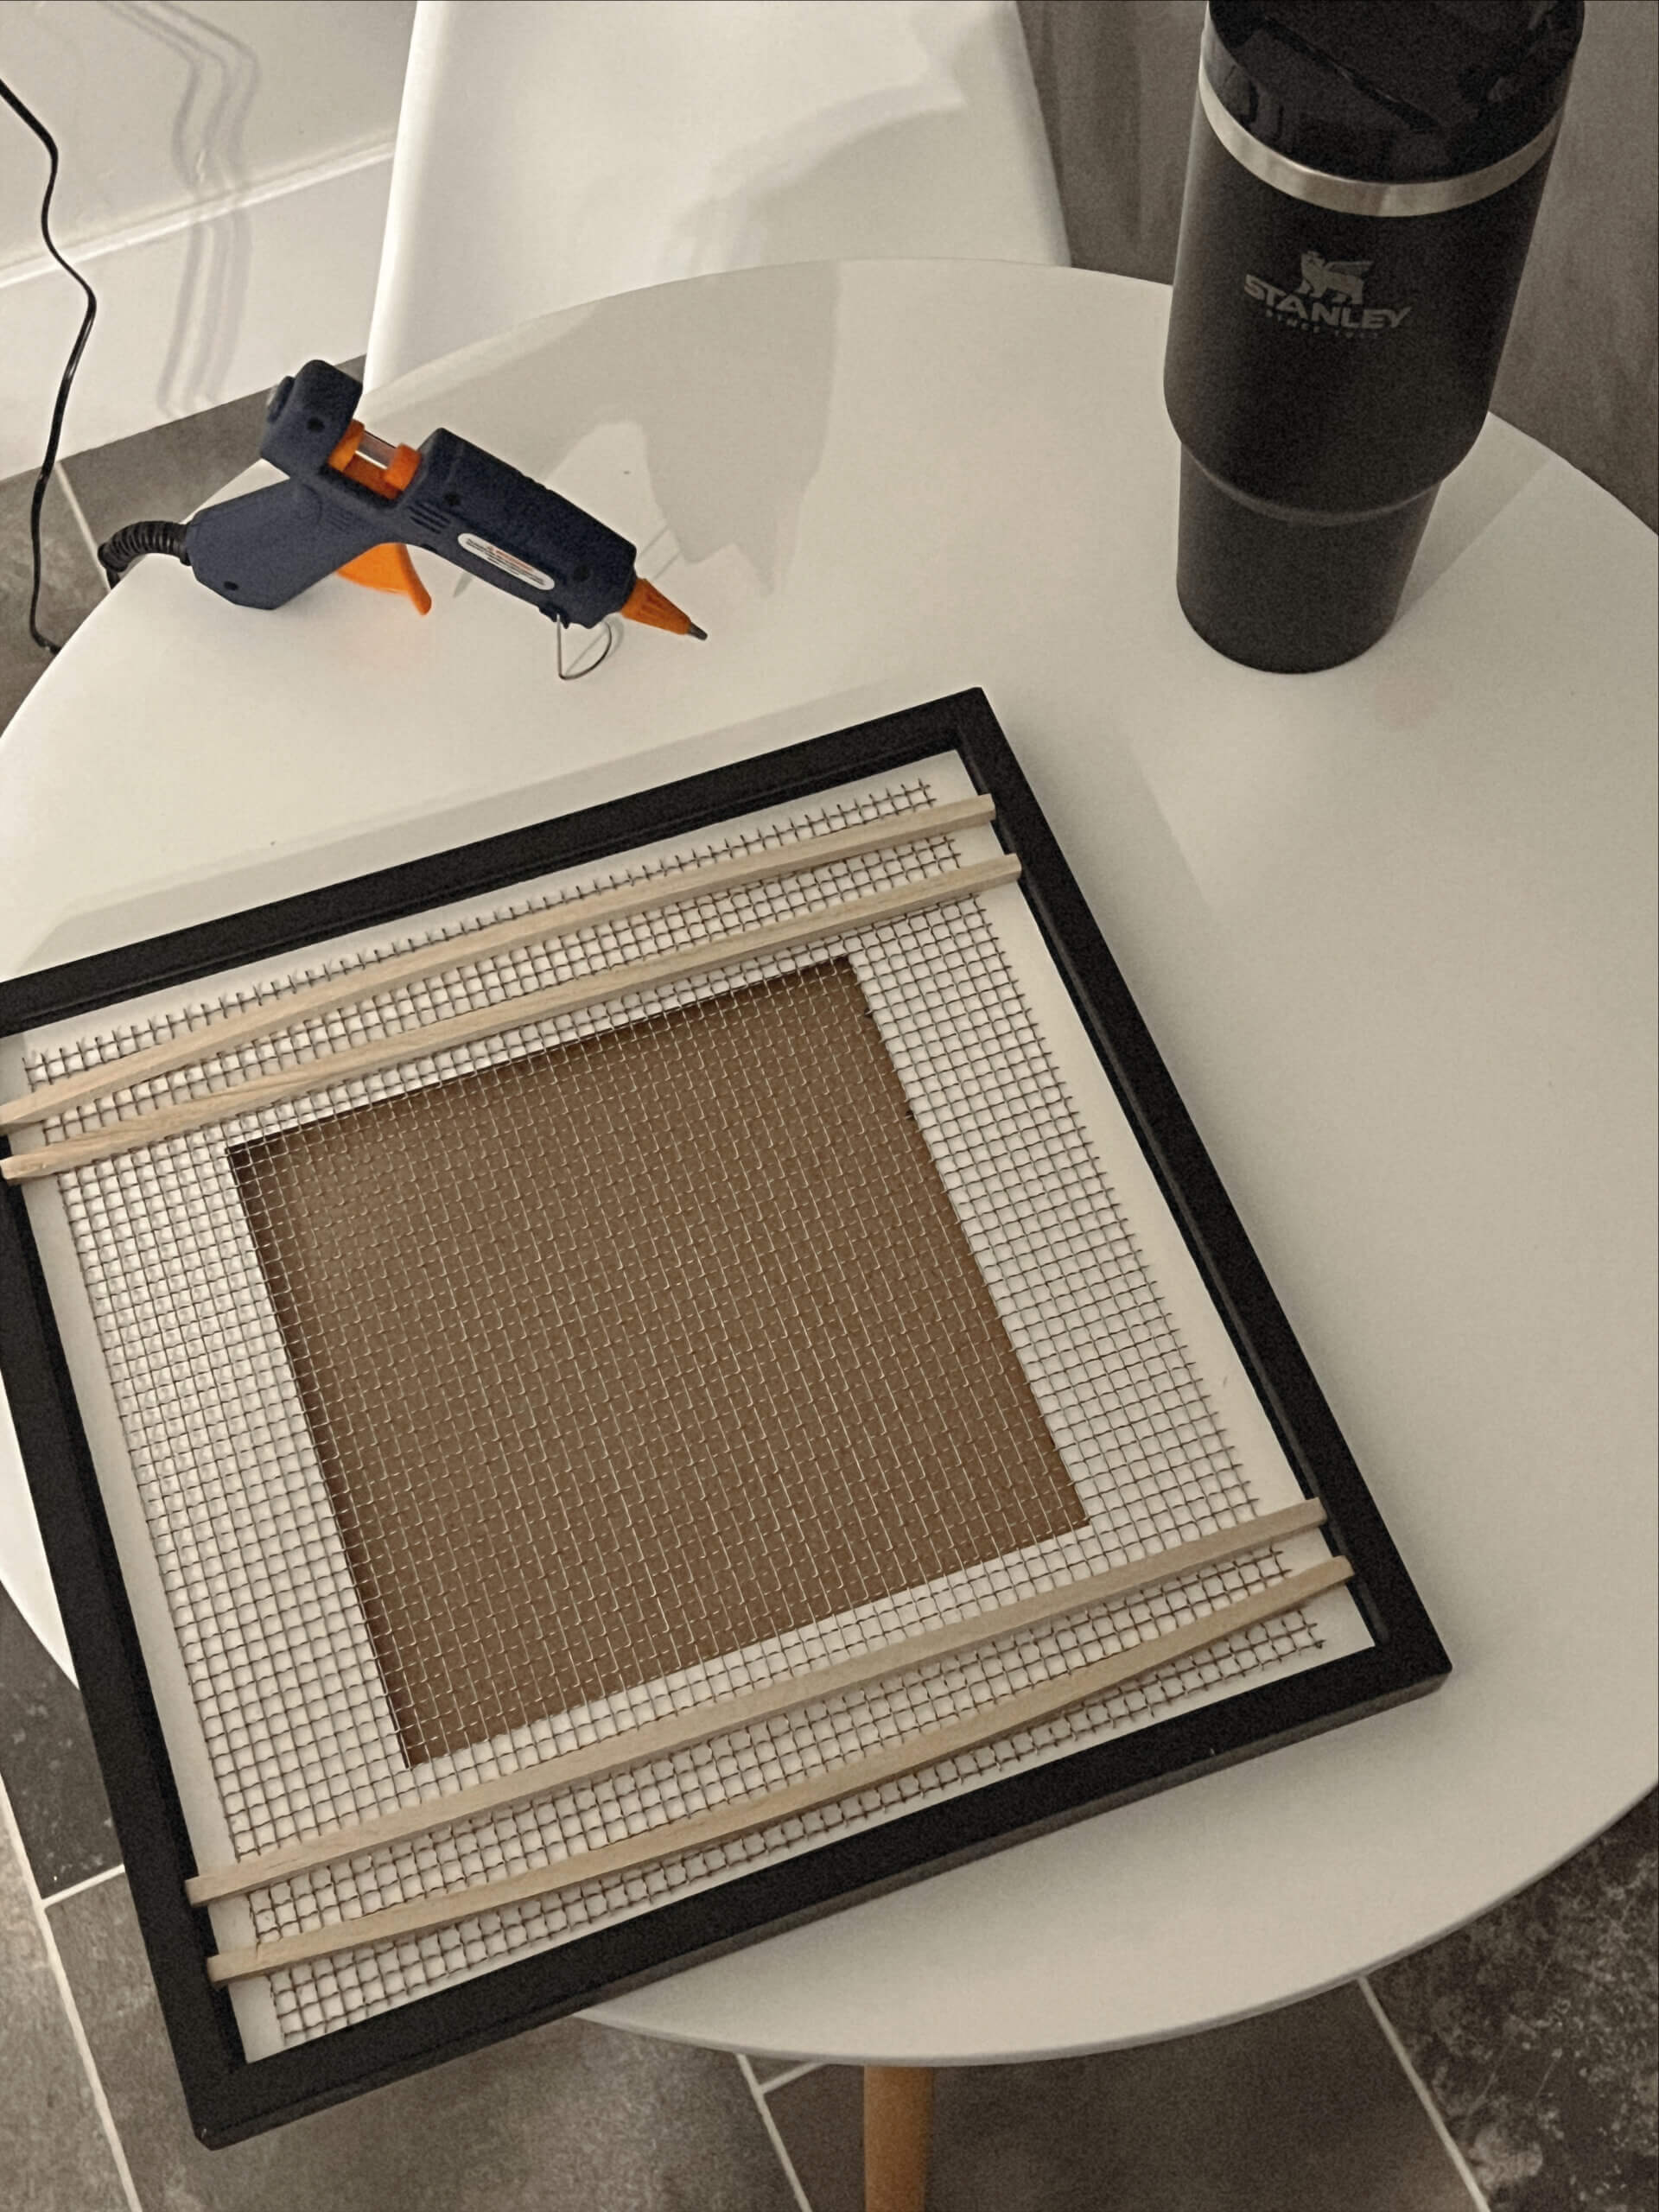
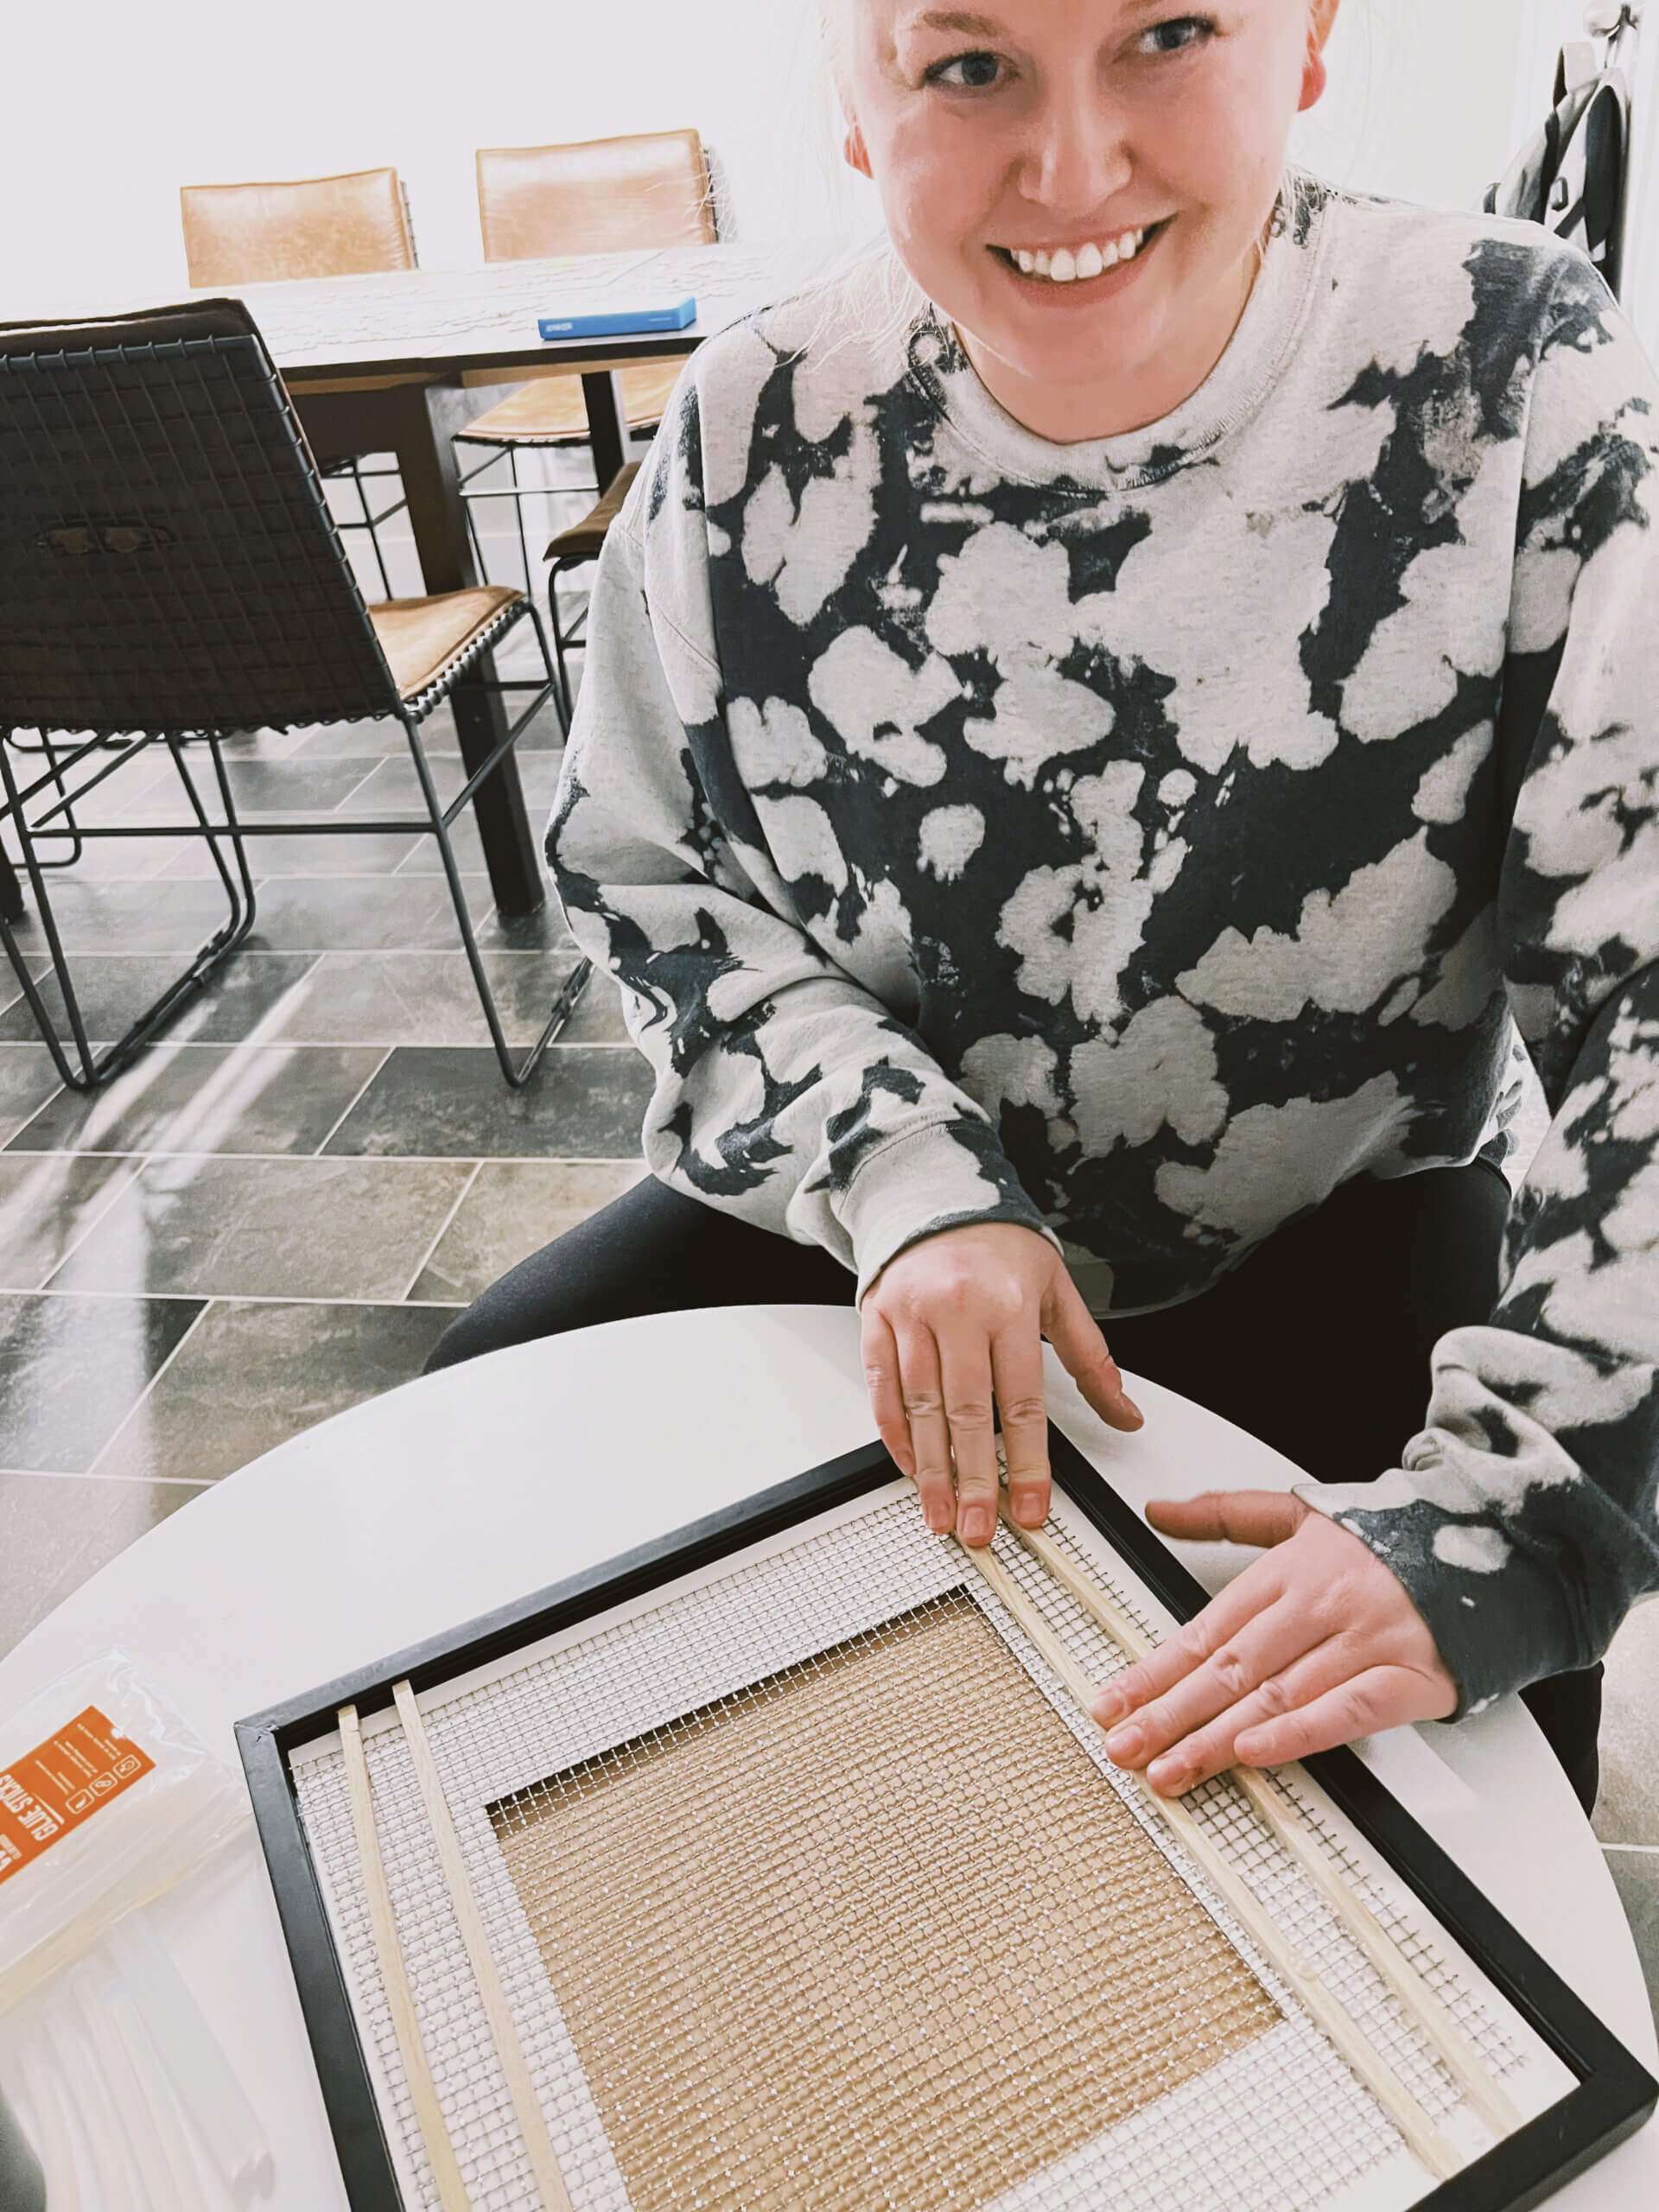
At this time you can also cut your dowels. Mine ended up being just about the right size so I wedged them in, and then set them in place with B7000.
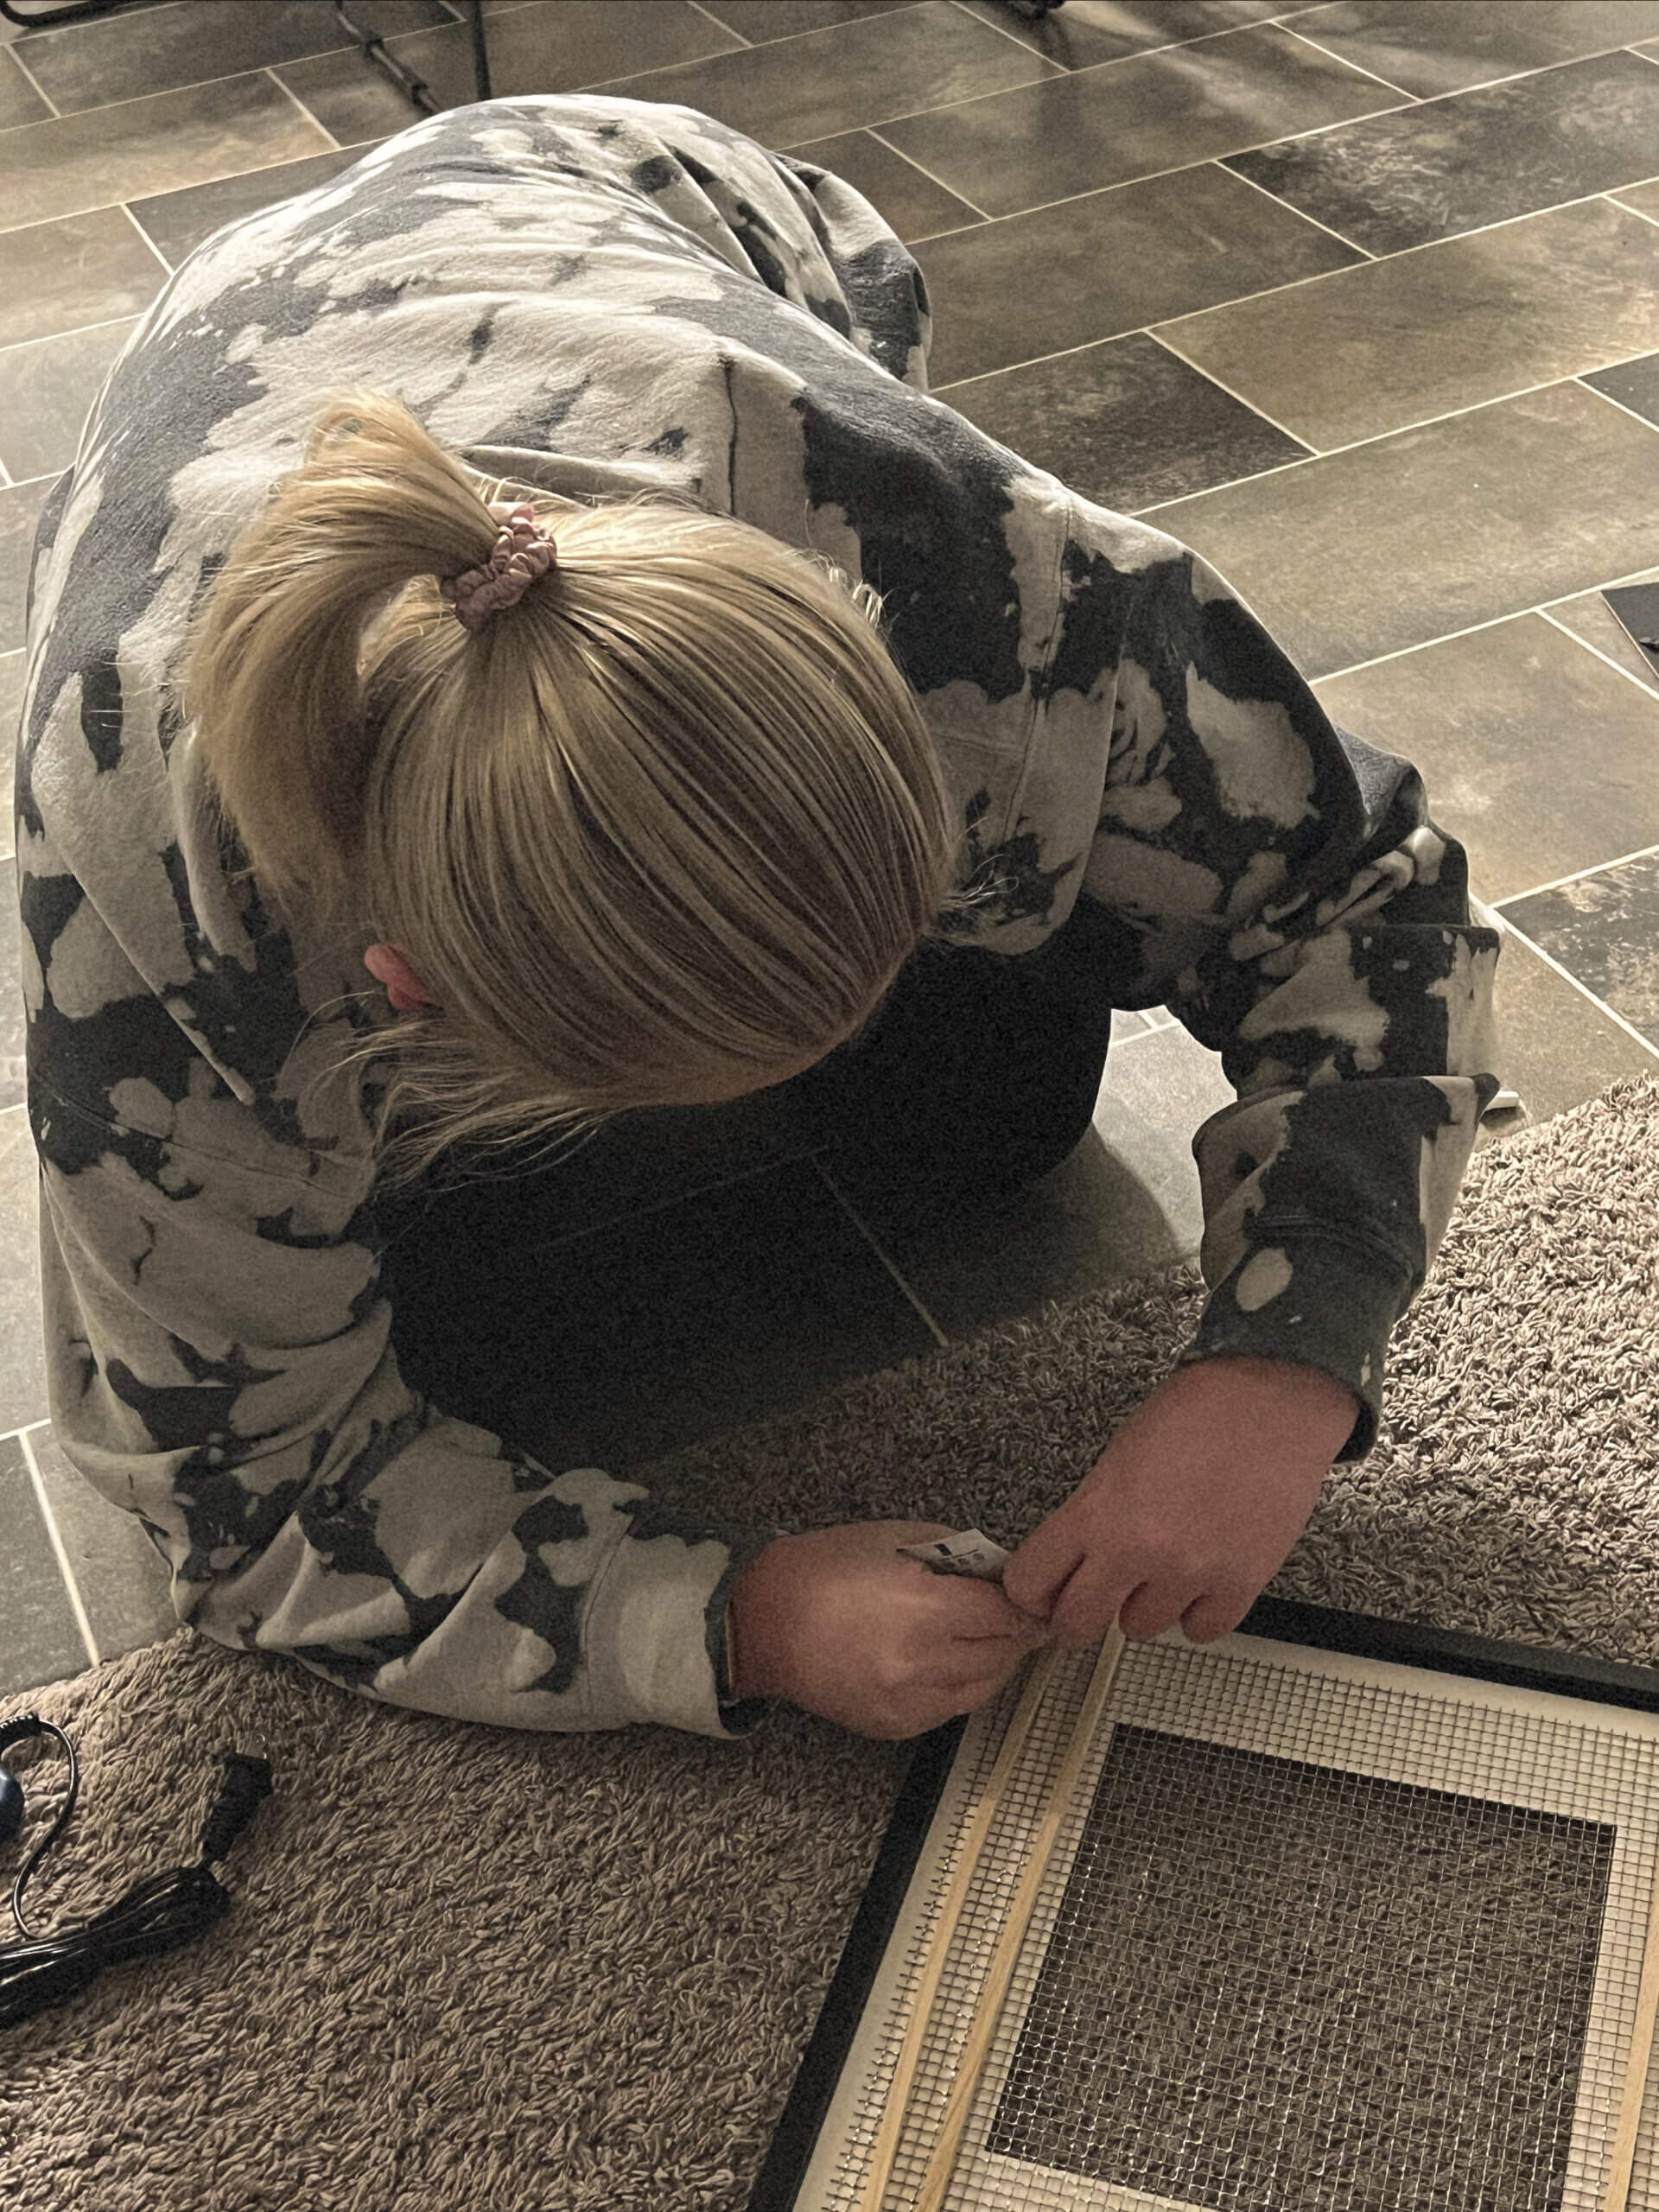
I added hot glue along the top and bottom of the metal wire. This made sure the wire was attached to the frame.
It takes a while for the B7000 to cure, but will hopefully be stronger in the end. The problem I had was that the wood wasn’t heavy enough to hold itself in place while it dried. I first stacked some books on top, but being impatient, I decided to secure the wood in place with hot glue as well.
Hot glue was a great option and sets much quicker. I don’t know how long the pieces would stay secure with only hot glue.
Don’t forget to pin it!
